Ever wonder how your favorite apps and websites seem to just “get you”? One action just flows smoothly to the next. That’s not by accident—it’s by design. User flow design, that is.
Whether you're navigating to your favorite section, making a purchase, or just browsing content, a good user flow ensures you have a seamless, frustration-free experience.
In this article, we’re going to dive into what a user flow is. We’ll explore why it’s so crucial for creating products that people love to use. We’ll walk you through the steps to design your own user flows, share some handy tools to make the process easier, and even offer up a template to get you started.
Whether you're new to user flows or just looking to sharpen your skills, you're in the right place. Let’s get started!
What Is User Flow in UX?
You have to understand how the product actually works, what the client's mental model is, and then craft a design that really helps clients understand it.
—David Myszewski, VP of Product at Wealthfront, in “From Launching the iPhone to Experiencing a 20x Growth at Wealthfront” on The Product Podcast.
A user flow is like a roadmap that shows how a user moves through your digital product from start to finish.
Imagine you're planning to visit a city — you’d map out the route, the stops along the way, the best-rated restaurants and attractions, the airport, and train stations... A user flow does the same thing. Instead of roads and restaurants, it maps out the screens, pages, and actions a user takes to reach a goal — like making a purchase or signing up for a service.
Here’s how it works: when someone interacts with your product, they start at a certain point—a homepage, a landing page, or even a specific link they clicked on. From there, they navigate through a series of steps, each one leading them closer to their goal. These steps could include filling out forms, clicking buttons, or reading content.
The user flow is a visual representation of all these steps, laid out in a clear, logical sequence.
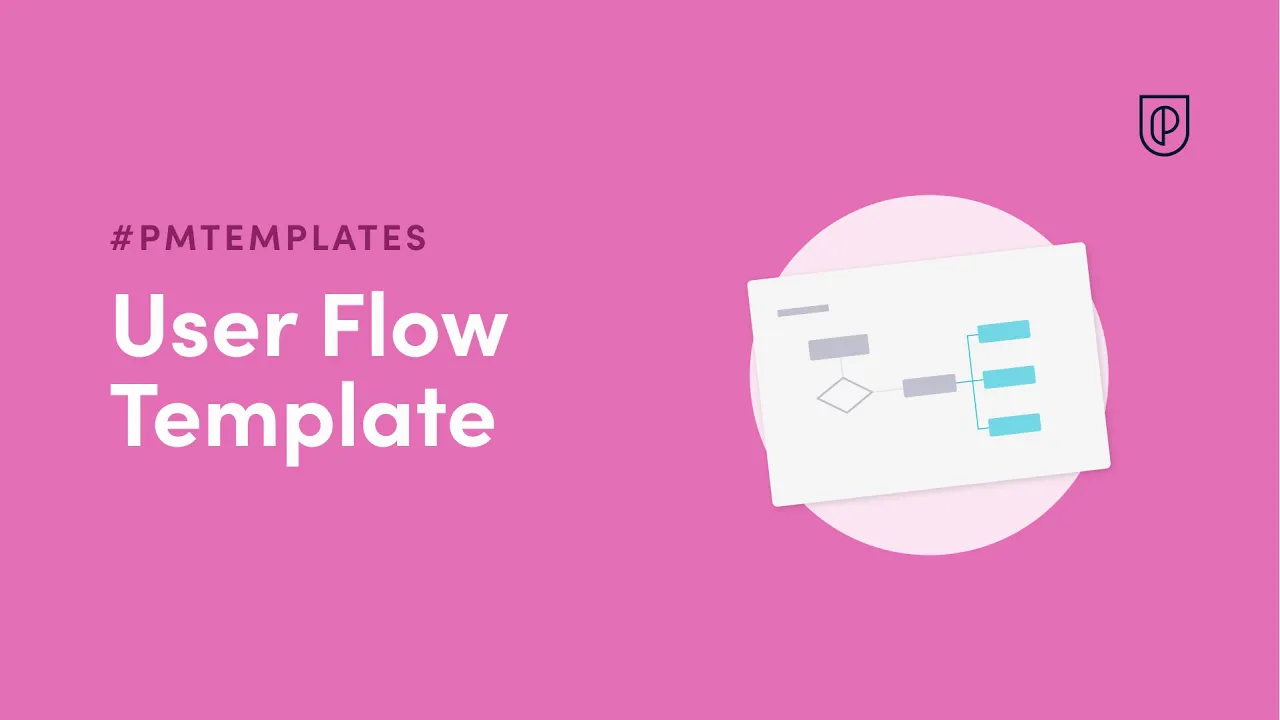
User Flow Template
Include design early in the Product process with these two user flow diagram templates.
Get the template
What Is a User Flow Diagram?
A user flow diagram, also known as a user flow chart or user flow map, is a visual tool that outlines the path users take as they interact with your digital product. It’s like a step-by-step map that shows each action a user might take, from entering your site or app to completing a specific goal, such as making a purchase or signing up for an account.
The diagram typically includes boxes or circles representing different screens or pages, connected by arrows that show the flow from one step to the next. This helps you see the entire user flow at a glance, making it easier to identify potential roadblocks or areas for improvement.
Imagine a series of shapes — usually boxes or circles — each representing a specific screen, page, or action within your product. These shapes are connected by arrows that show the direction the user will take from one step to the next.
For example, you might start with a box labeled “Home Page,” connected by an arrow to another box labeled “Product Page.” From there, another arrow might lead to a “Checkout Page,” and, finally, to a “Confirmation Page.” These connections allow you to see the entire path the user might follow, from the moment they land on your site or app to the completion of their goal.
What makes a user flow diagram so powerful is its ability to visualize complex processes in a simple, intuitive way. By laying out each step visually, you can easily spot where users might get stuck or drop off. Maybe there's an unnecessary step that complicates the process, or perhaps a key action is buried too deep in the flow. The diagram makes these issues clear and allows you to optimize the user experience.
How to Create a User Flow
Creating a user flow is all about understanding your users. Here’s how map out user flow in a way that feels natural and intuitive, step by step, incorporating the user stories, task flows, and wireflows, before arriving at the final User Flow diagram.

1. User Story: Define Your User’s Goal
Start by identifying the main goal your user wants to achieve. Are they trying to make a purchase? Sign up for a newsletter? Find specific information? Knowing this goal will guide every other step in the process. The user’s goal is the destination of your user flow, so it’s crucial to be clear about what it is.
A common User Story format is the following:
"As a [user], I want [feature] so that [benefit]."
For example, a user story for Airbnb’s Instant Book Feature might be the following:
"As a traveler, I want to instantly book a property without waiting for host approval so that I can quickly secure accommodation for my trip."
Needless to say, before you can define user goals, make sure you thoroughly understand your users. Conduct user research, and make sure your product team is focused on product analysis and the optimization of product experience. This will undoubtedly help them define goals that actually matter and are aligned with key performance indicators.
2. Task Flow: Identify Key Actions
The task flow breaks down the user goal into a series of actions or tasks that the user must complete to achieve that goal. It’s a more granular step-by-step process. These could include visiting a homepage, navigating to a product page, adding items to a cart, and checking out. Think of these steps as milestones along the way. Each step should bring the user closer to achieving their goal.
At each step, ask yourself: What is the user trying to achieve here? and What information or action is essential at this stage? For instance, on a product page, the user might need to see detailed descriptions, reviews, and pricing before deciding to add the item to their cart. These details are crucial because they influence whether the user will proceed to the next step.
It’s also important to consider any decision points within the flow. For example, after adding an item to the cart, the user might need to decide whether to continue shopping or proceed to checkout. Each decision point is an opportunity to guide the user further along the path. By mapping these out, you can ensure that the flow is logical and supports the user’s decision-making process.
3. Wireflow: Connect the Task Flow to the User Interface
A wireflow combines the task flow with wireframes (simple, low-fidelity sketches of the interface). It visually represents how each task in the task flow maps to different screens or components of the interface. Wireflows help designers understand the connection between tasks and the interface layout.
4. Map Out the User Flow Diagram
Now that you have the key steps, it’s time to map them out visually. Create a user flow diagram with a User Flow template or other tool to visualize each step and connections. Connect these shapes to indicate the direction the user will take from one step to the next.
The user flow is a more detailed version of the wireflow, showing the exact sequence of screens and interactions that the user will experience while completing tasks. It includes decision points and alternate paths to show users how to navigate through the interface to achieve a goal.
This visual map helps you see the entire journey at a glance and ensures that the flow is logical and smooth.
5. Consider Alternative Paths
Not all users will follow the exact same path. Some might take shortcuts, while others might need more information before moving forward. Consider these alternative paths and include them in your user flow diagram.
Start by thinking about different scenarios that could arise. For instance, some users might know exactly what they want and head straight to the checkout. Others may want to explore multiple product pages or seek out reviews before making a decision.
To include these different routes in your user flow diagram, you’ll add branches off the main flow. For example, from a product page, for users who are ready to buy, one arrow might lead directly to checkout. Another arrow might branch off to a reviews page — this is for users who need more information before committing.
These branches are essential for a few reasons.
Helps you anticipate and plan for different user needs, ensuring that no matter how a user navigates your product, they can still reach their goal.
Prevents users from getting stuck or frustrated by offering multiple pathways to success.
Allows you to visualize alternative routes, enabling the identification and elimination of dead ends or obstacles that could disrupt the user’s journey.
6. Test and Refine the UX User Flow
Once your user flow is mapped out, it’s time to test it. Walk through the flow yourself or with a small group, and pay attention to any areas that feel confusing or cumbersome. Are there too many steps? Is important information too hard to find? Use this feedback to refine the flow, making it as streamlined and user-friendly as possible. Here are some product analytics practices you could use:
Conduct User Research: Run sessions with target users to observe how they navigate the flow. Note any hesitation or confusion.
Use Heatmaps and Click Tracking: Implement tools to visualize user interactions, identifying where users get stuck or take unexpected paths.
A/B Testing: Test different versions of the flow to see which performs better, focusing on user engagement and goal completion.
Analyze Funnel Drop-offs: Track where users abandon the flow. High drop-offs indicate areas that need refinement.
Collect User Feedback: Use surveys or interviews to gather insights on what users found confusing or frustrating.
Iterate Based on Test Results: Simplify confusing steps, rearrange actions, and ensure key info is accessible. Update the flow diagram accordingly.
Run Follow-Up Tests: After adjustments, test again to confirm improvements and continue refining as needed.
Monitor Post-Launch Performance: Use performance metrics to track user behavior, making tweaks as necessary to keep the flow optimized.
7. Iterate Based on User Feedback
After implementing the user flow in your product, gather feedback from real users. Are they navigating the product as expected? Are there any unexpected drop-off points? Use this feedback to iterate and improve the user flow over time.
When refining your user flow map based on feedback, start by collecting input from various channels like user surveys, in-app feedback tools, and usability testing sessions. Analytics and behavior-tracking tools like Google Analytics or Hotjar can also provide valuable insights. They can help you understand how users are navigating your product and where they are encountering friction.
Once you’ve gathered this feedback, analyze it. Try to identify common patterns and prioritize the most impactful changes. Focus on areas that have the biggest influence on user success, such as key decision points or commonly reported issues. It’s a good practice to iterate these changes, like adjusting button placement or simplifying instructions, and test with A/B testing or follow-up usability sessions.
User Flow Templates and Tools
To create a polished and professional user flow diagram, consider using an efficient template. A well-organized template makes it easy to build, edit, and share your user flow with your team.
This User Flow Template, validated by Andrew Nguyen, VP of Product at Loop, is a great starting point. If you’re new to designing user flows or need a quick way to structure your ideas it should help you create effective user flows without the unnecessary hassle. Moreover, it will also allow you to easily share, get real-time inputs from others and make adjustments on the fly.
User Flow Template
Include design early in the Product process with these two user flow diagram templates.
Get the templateIf AI is embedded in your product development process, an AI User Flow Template is an excellent resource. Validated by Sam Stevens, Former Product Leader at Google, Tinder, and American Express, it’s custom-designed to help product professionals integrate AI considerations into their user flow. It ensures that your design process accounts for AI’s unique capabilities and challenges. It provides essential steps to integrate data flow with user interactions and real-world examples from AI product management to help you make sense of the document.
AI User Flow Template
Essential steps applied to real-world examples from AI product management break down a complicated process into clearly defined flows from the initial entry point to the generated output.
DOWNLOAD FOR FREE
User Flow Tools
Using specialized tools to create user flow diagrams offers several advantages. They streamline design processes, enhance collaboration, and improve clarity in visualizing user flows.
Furthermore, these tools simplify the creation of complex flows. Teams can iterate and refine designs quickly, fostering more efficient project development and better end-user experiences.
Overflow: A specialized tool for creating user flow diagrams directly from your designs. Overflow offers a seamless way to visualize user flows with a focus on integration with popular design tools like Figma, Sketch, and Adobe XD.
Mockflow: An all-in-one platform for wireframing, user flows, and prototyping. Mockflow allows you to easily create user flow diagrams with its intuitive interface and a variety of pre-built components.
Timblee: A simple yet effective tool for mapping out user flows and sitemaps. Timblee is designed to help you plan and visualize the user experience, making it easy to communicate the flow of your website or app with your team.
Whimsical: Whimsical offers a clean, easy-to-use interface for creating flowcharts, wireframes, and mind maps. Its flowchart tool is perfect for building user flows quickly, with a library of icons and shapes that make the process straightforward and visually appealing.
FlowMapp: FlowMapp is specifically designed for creating user flows and sitemaps. It offers tools tailored to user experience design, allowing you to map out the user flow in a clear and structured way. It’s particularly useful for teams focused on web and app development.
User Flow Examples
User flows can range from simple to highly complex — this complexity depends on the product or feature being mapped out. Below are two easy-to-understand examples that illustrate basic user flows. These examples are intentionally straightforward to help clarify key concepts, though actual user flow charts can often be way more complex.
Example 1: App Sign-Up User Flow

The first example shows a user flow for the app sign-up process.
It begins with the user deciding whether they want to register or log in. The flow then branches based on their choice, guiding them through steps like filling out a registration form, logging in via Google or Facebook, or recovering a forgotten password.
The flow is designed to cover multiple scenarios. It ensures that users can easily sign up or log in, regardless of their preferred method. This is a typical user flow for a sign-up process, which is crucial for guiding new users smoothly into the app.
Example 2: Password Recovery and Verification User Flow

The second example details a user flow focused on password recovery and email verification.
After initiating sign-up, the user is directed to a password process where they may encounter steps like weak password warnings or incorrect password messages. The flow then guides the user through verifying their email. The map ensures they receive a welcome email upon successful verification.
This flow is an example of handling specific user tasks—like recovering passwords and verifying emails—ensuring that even if users hit a roadblock, they can easily find their way back on track.
User Flow vs. User Journey
The terms user flow and user journey are often used in user experience (UX) design, but they refer to different aspects of the user's interaction with the product. The main difference between user flows and user journeys is the scope. As we’ve established, the primary purpose of a user flow is to ensure that the user can efficiently and effectively complete a specific task with minimal friction. It is concerned with the logical and intuitive progression of actions within the interface.
A user journey, also known as a customer journey, is a broader concept that maps out the end-to-end experience a user has with a product, service, or brand, often across multiple channels and touchpoints. It starts from the initial awareness or discovery phase, through the consideration and decision-making process, to the actual interaction with the product and beyond, including post-purchase experiences.
Free Customer Journey Map
Put yourself in your customers’ shoes to find the problems in your user experience (and uncover opportunities to solve them).
Download here
A Thoughtful User Flow Chart Matters
Being an earlier-stage company allows you to be more creative and flexible about how you structure the organization. It also gives you room to think differently about the product and how it collaborates with other functions. This approach is key to facilitating the type of customer centricity or user centricity that will be critical to your success.
— Berit Hoffmann, CPO at Sisu Data, in “Non-Traditional Paths to Product” on The Product Podcast.
A great user flow practice doesn’t just guide users. It doesn’t just turn your product into something people love and gladly come back to.
Focusing on user flow reshapes the narrative your product management cherishes. It means your core guiding principle becomes: we’re building for the users.
This overarching goal may seem rational, simple, and, well, obvious. Still, so many teams are letting it slip into a secondary practice. The symptoms manifest as feature overload, ignoring user feedback, designing for stakeholders instead of users, prioritizing aesthetics over tried-and-true UX practices, and so forth.
So, dive in, build your user flows, and don’t hesitate to advocate for user flows as a priority within your team. A simple practice can stir winds that foster a healthy, robust, and long-lasting culture.
User Flow Template
Include design early in the Product process with these two user flow diagram templates.
Get the templateUpdated: October 18, 2024